

Professional Used LED Walls, Video Walls & Screens for Global B2B Projects
Stellux supplies certified used LED walls, used LED screens and used LED displays for sale from ex-rental and ex-hire stage stock. Every batch passes a six-step SOP inspection, is graded, repaired with same-batch parts and burn-in tested for 72 hours indoors or 96 hours outdoors before export.
Certified Used LED Screens & Rental Display Catalog
Browse our certified used LED screens, used LED walls and rental LED cabinets by brand, including Absen, Unilumin and Gloshine. Looking for high-density indoor used LED display panels? Explore our Used P2.6 LED Panels. For touring stages, outdoor events and used LED video walls, see our Used P3.91 LED Screens. Every listing is a used LED wall or used LED screen for sale from inspected stock — see the full catalogue in our Products Centre or request a quotation.
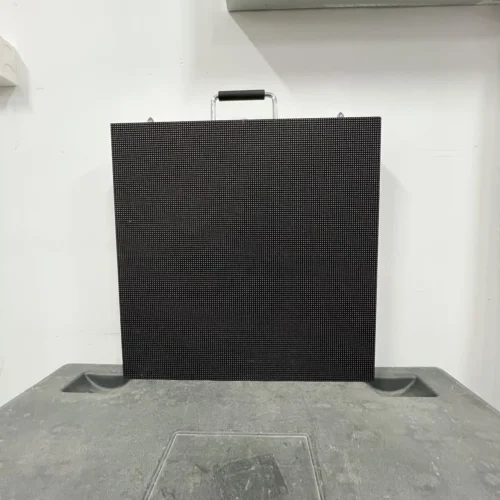
Premium large LED displays from top-tier brands, meticulously refurbished and tested to deliver uncompromised brilliance on every stage.
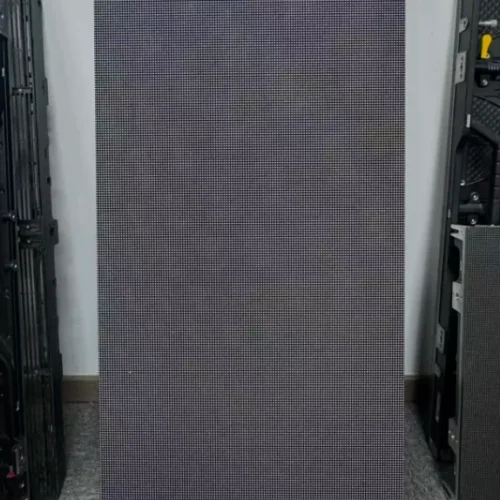
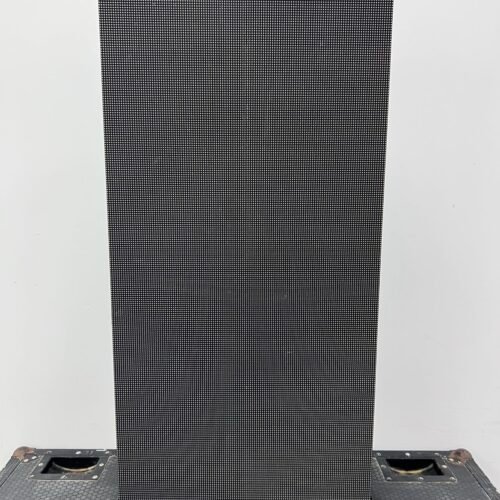


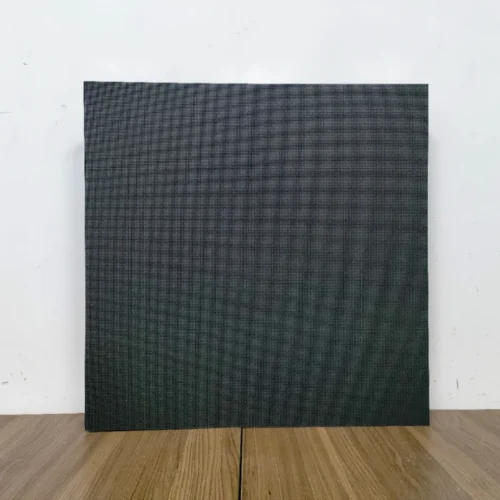
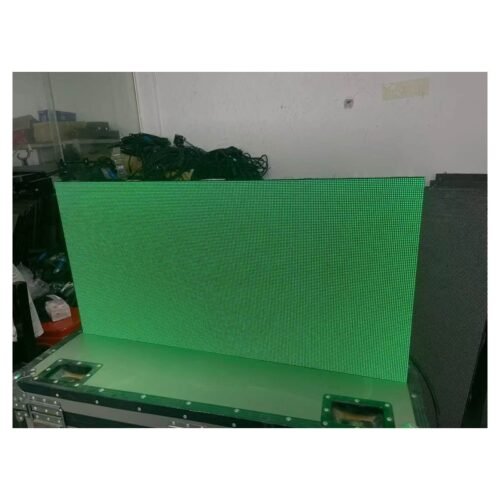
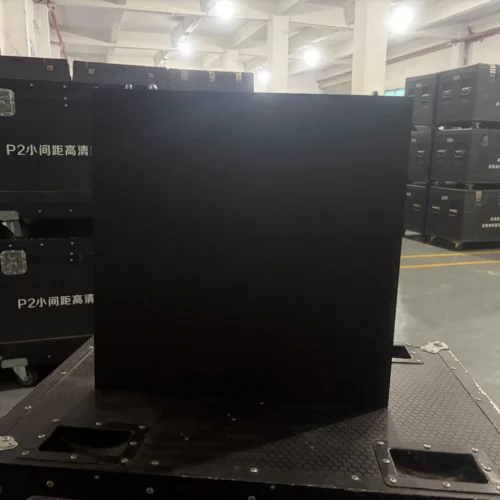


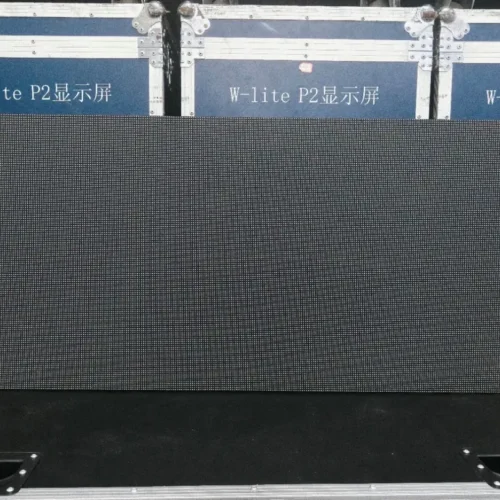
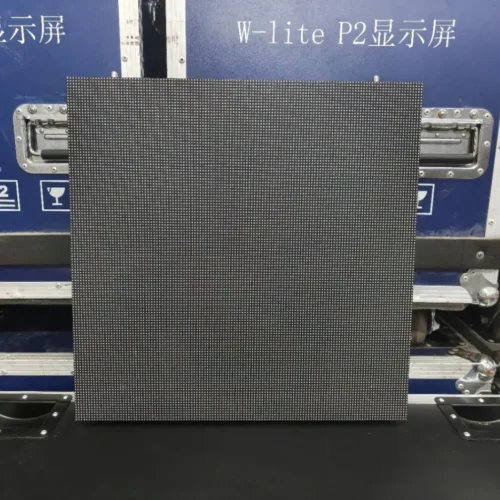


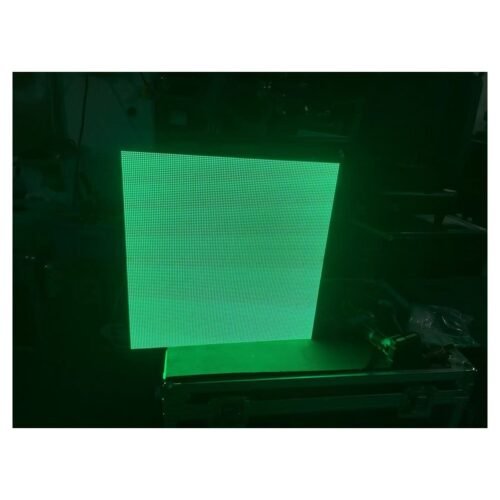

Our Project Case Wall
From world tours to billboards and retail, a look at the used LED screens we helped bring to life. From a double-sided outdoor LED display for a French retail event to an outdoor P3.91 big screen for a Spanish bodybuilding championship stage and a large indoor LED backdrop for a gala event in Cambodia, these are real projects delivered with our used LED screens.
No posts found!
6-Step SOP Inspection & Refurbishment Process
Every batch of used LED screens goes through a rigorous, documented process. No shortcuts, no exceptions.

Receiving & Intake
Incoming panels are verified against purchase orders — brand, model, pixel pitch, quantity, and physical condition. Every cabinet is photographed and logged into the batch record. See what to confirm before buying a used LED display.

Inspection & Testing
Full electrical safety test, receiver card verification, module voltage check, and signal chain validation. Each panel is lit up for white, red, green, and blue uniformity testing. Learn how to inspect dead pixels and colour uniformity.

Grading
Panels are graded A through E based on cosmetic condition and service age. Grading is transparent — you always know exactly which grade you’re purchasing. Read how used LED panels are graded A to E.

Repair & Refurbishment
Every panel with functional issues is fully repaired using same-batch replacement parts. Dead LEDs, driver ICs, power supplies, and mask lenses are replaced as needed. See what a used-LED repair service includes.

Burn-in Testing
Indoor panels: minimum 72 hours. Outdoor panels: minimum 96 hours. Continuous operation at full brightness with periodic inspections to catch early failures. Learn how to test grayscale, refresh and camera performance.

Final QC & Shipping
Pre-shipment visual re-inspection, quick power-on check, accessory verification, and professional packing. Each shipment includes a full test report. See what a quality inspection service includes.
Trusted by Global Partners
Building lasting relationships and driving shared success with clients worldwide.


About Stellux
LED stage screens are the most essential visual medium for concerts, exhibitions, and major events. When a show ends, many high-quality large screens are left idle or replaced — the hardware remains solid, and the value is never exhausted. Every used LED screen we list is graded and burn-in tested against the industry benchmarks published by AVIXA, the international AV industry association, before it ships.
Stellux is dedicated to the stage-rental LED screen sector — we create no new waste, only reawaken old value. We know that stage equipment is more than just screens: it is the reputation of AV contractors, the visual quality of every show, and the confidence behind every client’s project.
With tight budgets in overseas markets, rental companies need mature large screens that combine great value with stable performance — Stellux lets every professional screen step back onto the stage and shine. Every used LED screen we list is graded and burn-in tested against the industry benchmarks published by AVIXA, the international AV industry association, before it ships.
Why Overseas B2B Buyers Trust Stellux
Reliable LED Display Solutions from Project Planning to Long-Term Support
Engineering cases | Customer partnerships | 19 years of industry experience | Professional repair team
Top-Tier Brands · Assured Quality
We only work with used stage screens from leading brands such as Absen, Unilumin, GLOSHINE and Lightlink, and every batch carries a traceable batch code. Browse used indoor rental LED screens and used outdoor rental LED screens.
- Absen · Benchmark of the global rental market
- Unilumin · Renowned for rock-solid stability
- GLOSHINE · Battle-tested on stage
- Lightlink · Exceptional color performance
Expertly Engineered · Pro Refurbished
Every panel is repaired with same-batch replacement parts — dead LEDs, driver ICs, power supplies and mask lenses. See our full inspection and refurbishment SOP.
- Module-level repair · Precise dead-pixel treatment
- System-level tuning · End-to-end optimization
- Color calibration · True-to-stage reproduction
- Structural overhaul · Mechanical strength testing
Standardized QC · Transparent & Trustworthy
Each batch is burn-in tested for a minimum of 72 hours indoors and 96 hours outdoors at full brightness, and every shipment leaves with a full test report. Learn how refurbished used LED screens are tested.
- Visual inspection · Structural integrity
- Photometric testing · Uniform brightness / chromaticity
- 72h burn-in test · Stability verification
- Functional verification · Full-scenario simulation
Complete After-Sales · Long-Term Support
Grade A and B screens carry a 12-month warranty and Grade C carries six months, with after-sales response within 24 hours and resolution within 48 hours.
- 48h warranty response · Quick resolution
- Lifetime technical consultation · Support on demand
- Guaranteed spare parts · Long-term reliability
- Regular follow-up · Continuous improvement
Used LED Displays: Conditions, Grades & Pixel Pitches
Second-hand is not one condition. The pre-owned screens on this site are ex-rental and ex-hire stage equipment — cabinets retired from rental fleets, touring and event projects. After inspection, every panel is graded A to E on visual condition and service age, and the grade is stated on the quotation, so you always know which grade you are buying. Grade A and B screens carry a 12-month warranty; Grade C carries six months. Grade E panels are never sold — they are harvested for repair parts. Current stock covers P1.9, P2.6 and P3.91 pixel pitches; see the grading table in our SOP.
Frequently Asked Questions & Technical Buying Guides
What should I confirm before buying a used LED display?
Start with a complete equipment identity, not only a selling photo. Request the display model, pixel pitch, cabinet dimensions, indoor or outdoor classification, cabinet quantity, receiving-card model, power-supply model, controller, current software and available configuration files. Ask for front, rear, connector, label and powered-on test photos. A screen that can display an image in a warehouse may still have mixed batches, missing accessories, unstable power supplies or an unknown receiving-card configuration.
How do I verify the pixel pitch and cabinet size of a used screen?
Verify pixel pitch from more than one source. Check the original model label, module label, cabinet drawing and the physical distance between pixel centres. Do not identify pitch only from a front photograph because perspective, camera resolution and image processing can make different products look similar. If the cabinet is 640 × 640 mm, confirm whether that is the complete mechanical size, the LED face size or a nominal cabinet dimension with a frame.
Why are serial numbers and production batches important in a used LED purchase?
Yes. Serial numbers and batch information support traceability. They can help identify the cabinet model, production period, module batch, warranty record, compatible receiving card and spare-part reference. Without this information, a screen may still work, but future repairs become slower and more expensive because engineers cannot tell whether a replacement belongs to the same system. Check labels on the cabinet, module, power supply and receiving card.
How many spare cabinets, modules and power supplies should I buy?
There is no universal spare percentage for every used display. The right quantity depends on screen size, age, rental frequency, operating environment, transport distance, product availability and the time required to obtain replacement parts. A small indoor fixed screen may need a different spare strategy from a large outdoor rental inventory used every weekend. At minimum, identify the parts that can stop a complete branch: receiving cards, power supplies, signal cables, power cables, HUB boards and matching modules.
How can I tell whether a used LED cabinet is for indoor or outdoor use?
Do not decide from brightness or appearance alone. Check the model label, cabinet construction, sealing method, module protection, connector protection, cooling design and official environmental specification. Outdoor products may have higher brightness and weather protection, but an outdoor rating applies to a complete approved installation and defined test conditions. A bead of sealant or a rain hood does not automatically make an indoor cabinet suitable for outdoor use.
How should I evaluate used-screen brightness for the real viewing environment?
Brightness must be evaluated with the environment, content and viewing distance. A screen that looks bright in a dark warehouse may be weak behind glass or in direct sunlight. A screen that looks impressive at maximum brightness may be uncomfortable indoors and may create unnecessary heat. Ask for the model, rated condition, previous brightness setting and, where available, a factory or calibrated measurement.
What is the correct way to inspect dead pixels and colour uniformity?
Use a repeatable test sequence rather than a single video. Display full white to reveal bright/dark pixels and overall uniformity. Display black to reveal unwanted light. Use red, green and blue fields to identify channel defects. Use gray steps and gradients to inspect low-gray behaviour, banding and uneven transitions. Add a grid, text and moving content to check mapping, sharpness and motion.
How do I test grayscale, refresh behaviour and camera performance?
Camera performance cannot be confirmed by a normal viewing test alone. Use the actual camera, lens position, shutter, frame rate, exposure and intended content. Test gray gradients, faces, dark details, white transitions, fast motion and large areas of solid colour. Record the camera settings with the video. A phone’s rolling shutter can create bands on a screen that looks normal to the eye, while a real production camera may behave differently.
What should I inspect on the used cabinet structure, locks and connectors?
Inspect the cabinet as a structural and service product, not only as a display surface. Check frame flatness, corners, door panels, locks, handles, hanging points, support feet, alignment pins, screws and signs of deformation. For rental cabinets, operate every lock and confirm that it reaches the fully locked position. A narrow seam does not prove that the lock is engaged.
How do I check receiving cards, HUB boards and configuration files before purchase?
The receiving card, HUB board and configuration file determine how the cabinet actually displays pixels. Two cabinets with the same external size may use different scan modes, driver ICs, data groups, ribbon order or receiver firmware. If these details are unknown, the display may work during a simple demonstration but become difficult to repair or expand later. Record the receiving-card model, hardware revision, firmware, connector order and status indicators.
How do I calculate the resolution and pixel load of a used LED screen?
Start with cabinet geometry. If a screen uses N cabinet columns and M rows, total cabinets equal N × M. Screen width and height come from the actual cabinet dimensions, while pixel resolution comes from the confirmed pixel count of one cabinet. For a 640 × 640 mm P2.5 cabinet, a planning estimate is about 256 × 256 pixels, but the manufacturer’s drawing and receiving-card data remain the final reference.
How do I confirm compatibility between a used screen and a video processor?
Pixel capacity is necessary but not sufficient. Confirm the processor’s input and output type, port count, maximum width and height, total pixel capacity, output format, refresh requirements and supported sending/receiving system. Then confirm the used cabinet’s receiving-card model, firmware, cabinet resolution, cascade method and configuration tool. A processor may have enough total pixels but still be unsuitable for the required three-screen layout or port distribution.
How should I plan power for a used LED display?
Use the factory maximum power for final electrical design and distinguish it from average operating power. A used display may have changed power supplies, brightness settings or cabinet batches, so an old estimate should be checked against the actual nameplate and test condition. For planning, screen area multiplied by factory power per square metre can provide an estimate. Current then depends on voltage and the power arrangement, but a qualified electrician must approve the circuit.
What grounding, RCD and surge protection should a used LED screen have?
Yes. Reusing the display does not mean the new site’s electrical protection is automatically suitable. The cabinet, metal structure, controller rack, distribution board and building equipotential system need a reliable protective-earth path designed under local rules. Do not use a signal shield, a thin improvised jumper or a random screw as protective earth. PE and neutral have different functions and must not be joined inside the display without an approved design.
How do I choose RJ45 cable, fiber and SFP modules for a used LED system?
First identify the actual signal interfaces and distance. RJ45 may be the signal core, while EtherCON or an aviation-style shell may only add locking and protection. Confirm the connector before buying replacement cables. Check cable quality, category, length, shielding, route and resistance to interference. A dedicated LED data chain should not automatically pass through an ordinary Ethernet switch. For fiber, match single-mode or multimode type, optical rate, wavelength, connector, duplex direction, polarity, distance and optical power budget at both ends.
What is the correct installation order for used LED cabinets?
Start with the approved layout, not with the nearest cabinet in the transport case. Check the screen orientation, cabinet numbers, columns, rows, maintenance direction and independent zones. Confirm the wall or structure, base level, anchors, support, lifting method and access route before placing cabinets. Used cabinets may have slightly different frames or locks, so inspect and group them before assembly.
How should I install a used rental LED screen safely?
Rental screens need a repeatable process because they are assembled, transported and rebuilt frequently. Before opening the cases, group cabinets by product, pitch, batch, direction and event zone. Inspect locks, handles, connectors, modules, frames and labels. Keep spare and damaged cabinets separate. A cabinet that looks similar may have a different resolution or receiver configuration. For ground stacking, confirm the base, levelling, lateral support and top locking.
What must be checked when installing a used outdoor LED display?
The old cabinet arrangement is a reference, not an automatic approval for the new site. Review the cabinet condition, sealing, gaskets, doors, connectors, corrosion, drainage and rear ventilation. Ask whether the cabinets were previously exposed to rain, salt air, dust, snow or direct sunlight. Water marks or corrosion can remain hidden while the LEDs still work. The new site requires an independent structure and environment review.
How should I install a used fine-pitch screen indoors?
Fine-pitch indoor displays are often viewed close to the screen, so flatness, seam alignment, uniformity and low-gray performance become very visible. Start with a rigid, level wall or frame and confirm that the finished opening matches the cabinet layout. Do not force a cabinet into an opening that is too small or use excessive pressure to hide a structural error.
What checklist should I follow before first power-on?
First confirm that installation is safe and complete. Check cabinet locks, support, lifting removal, protective barriers, cabinet direction, module condition, connector labels and maintenance access. Confirm that power circuits, protective earth, RCD/RCBO and upstream capacity have been reviewed by a qualified electrician. Do not energize a wet, damaged or mechanically unstable installation. Then review the signal chain: source, processor input, processor output, sending port, fiber/RJ45 link, first cabinet, cascade order and screen zone.
How do I configure a used screen with RCFGX and NovaLCT?
Begin by identifying the exact receiving-card model, hardware revision, module structure, driver IC, scan mode, cabinet resolution and project zone. Save the current configuration before editing. If the display is still working, preserve that working state and export the configuration with a clear project and date name. Use the project-specific RCFGX or equivalent file only after confirming that it matches the physical module and receiver.
How do I map ports and cabinet cascades during commissioning?
A blank branch is often a mapping or topology problem rather than a dead display. Start with a physical cabinet map showing columns, rows, cabinet numbers, signal IN/OUT, receiver addresses, processor ports and screen zones. Use the actual viewing direction and maintenance orientation. Do not rely on a software rectangle that does not match the physical layout. Confirm that the processor output connects to the first cabinet’s signal IN and that each following cable uses the approved OUT-to-IN direction.
How should I diagnose a black screen or “No Signal” message?
Define the scope first: whole system, one processor output, one network branch, one cabinet or one module. Ask whether the screen is fully black, showing black content, very dim or reporting “No Signal.” Record the last known-good time and recent changes such as a power event, input switch, software update, cable move or configuration change. Check in layers. Confirm upstream power and protection with qualified personnel.
How do I diagnose one faulty cabinet, row or column?
The shape of a local fault is evidence. A complete cabinet may point to its power, receiver, local signal or configuration. A row or column may point to a data path, HUB port, scan parameter, ribbon connection or module power. It is not automatically a module failure. Draw the fault on the cabinet map and record whether it is fixed or intermittent, visible to the eye or only to a camera, present at start-up or after running, and present during pure-colour tests.
What should I check when a used screen flickers, ghosts or shows colour defects?
Describe the symptom precisely before changing parts. Flicker may be visible to the eye or only to a camera. Ghosting, trailing, colour cast, scan artefacts and pixel misalignment have different possible causes. Record the fault area, content, brightness, camera settings, time of occurrence and whether the issue appears during pure-colour and grayscale tests. Check the source and input format, then the processor output and signal link.
What should I do if the used screen is dim or has a brightness mismatch?
First separate a whole-screen brightness issue from a local mismatch. A whole-screen issue may involve ambient light, brightness mode, content, processor settings, receiving-card parameters, temperature or the delivered product specification. A local issue may involve calibration, module batch, power drop, receiver data or a damaged LED section. Test full white, gray, black-background text, faces and real customer content. Record ambient light, viewing distance, time, brightness setting and camera exposure.
Why does a used LED screen restart or dim after running for a while?
Time-dependent failure often points to power, heat, signal stability or a component that changes behaviour as it warms. Record the start time, ambient temperature, brightness, white-content ratio, affected cabinet, circuit and exact recovery method. Compare cold start with stable operation. Do not assume that a software restart proves a software problem. Check the power tree with qualified personnel: supply stability, circuit protection, connector temperature, power-supply condition and zone allocation.
How do I decide whether the problem is a module, receiving card, HUB or power supply?
Do not choose a part only from the visible symptom. Start with the affected scope and the fault boundary. A single LED or small module defect is more likely to involve the module, driver or local ribbon. A regular row/column defect may involve data group, HUB, scan configuration or ribbon order. A complete cabinet may involve power input, receiver, local cascade or configuration.
What should be included in a professional used-LED repair service?
A professional repair service should begin with a case number and an evidence record. The technician defines the symptom, scope, operating condition and recent changes, then photographs the cabinet, labels, connectors and fault pattern. The original configuration is backed up before parameters are changed. This avoids replacing a visible part without understanding the cause. The repair may include module, ribbon, HUB, receiving card, power supply, connector, cabinet lock or signal-cable work, depending on evidence.
What does a professional used-LED quality inspection service include?
A quality inspection service should combine documentation, visual, mechanical, electrical and display testing. It begins with inventory: cabinet count, model, pitch, dimensions, serials, receiving cards, power supplies, cables, flight cases and spares. It then records the condition of frames, locks, doors, connectors, seals, corrosion, water marks and repair history. Display testing should include full white, black, red, green, blue, gray scale, gradients, grid, text and motion.
